Install AMiGA
Table of Contents
Overview
AMiGA is available on PyPI and Bioconda and is compatible with Python versions 3.10, 3.11, and 3.12.
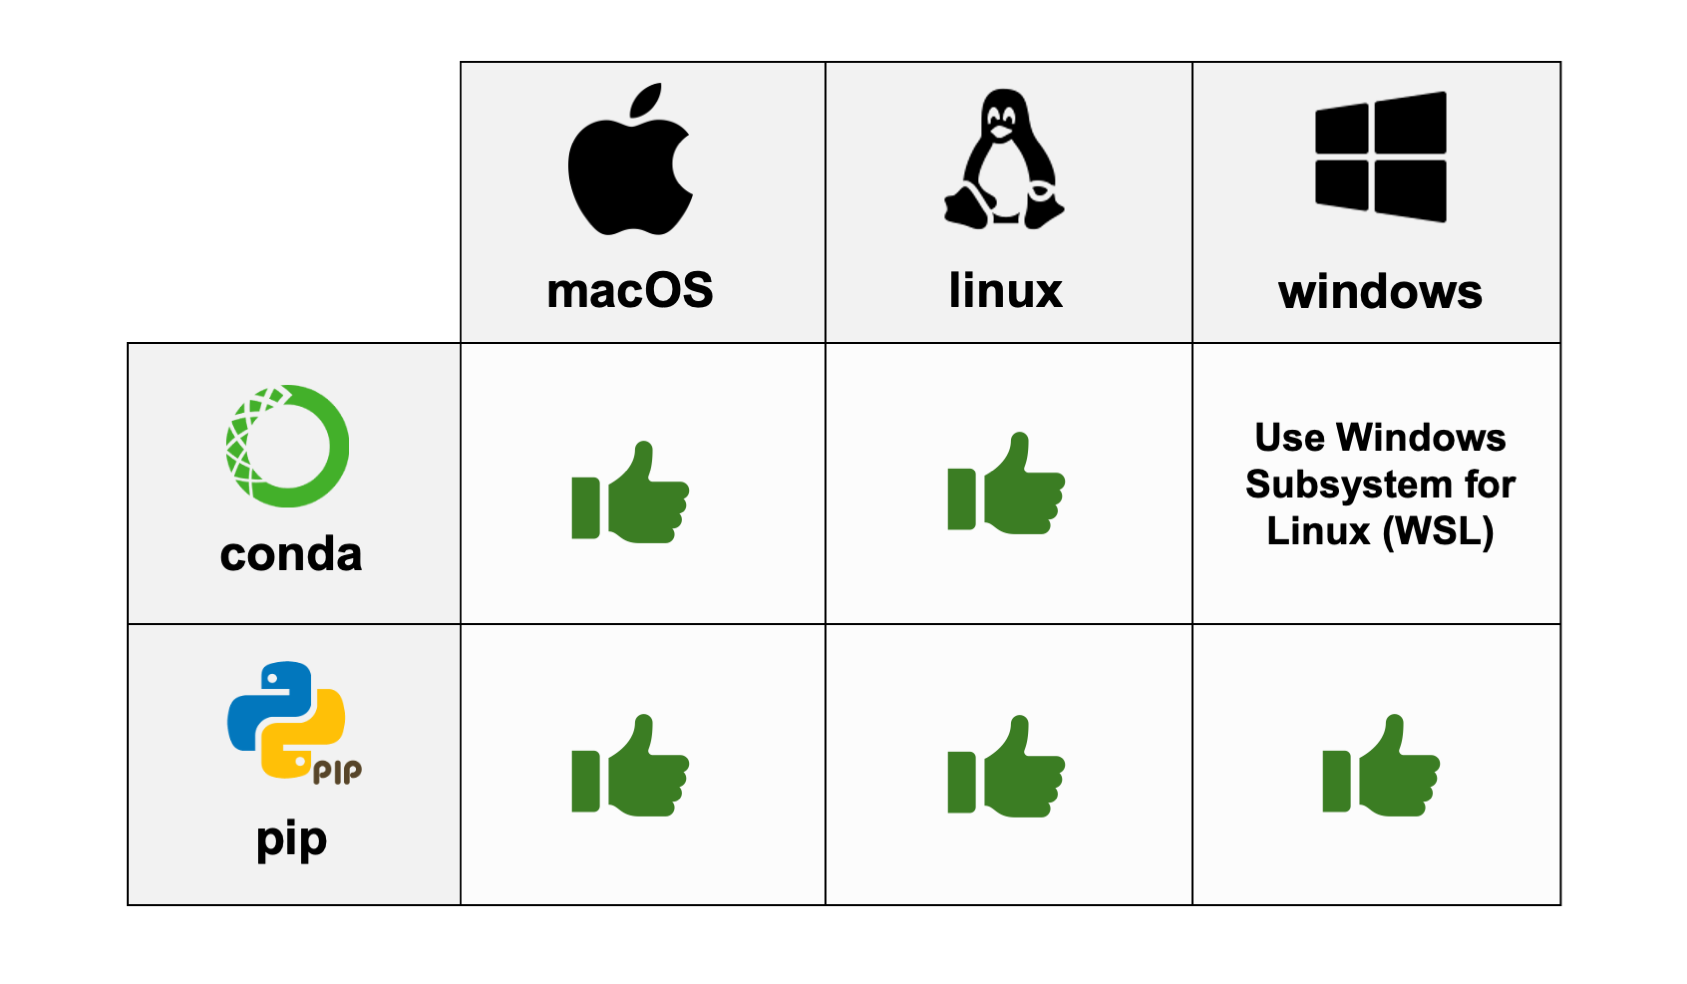
Note to Windows users: If you would like to install AMiGA with conda/mamba, you will need to use the Windows Subsystem for Linux, becuase AMiGA is only available through the bioconda channel for linux and mac systems.
Note to all users: To avoid dependency conflicts, I recommend that you create a virtual environment for AMiGA.
- For
pipusers, see Install packages in a virtual environment using pip and ven. - For
conda/mambausers, see Managing environments.
Instructions for Advanced Users
AMiGA can be installed by pip or conda/mamba and is compatible with Python 3.10, 3.11, and 3.12. I recommend that you create a virtual environment for AMiGA.
pip install amiga
conda install bioconda::amiga
mamba install bioconda::amiga
If you would like to build AMiGA locally, then do the following.
git clone https://github.com/firasmidani/amiga
cd amiga
python3 -m install build
python3 -m build .
python3 -m pip install dist/amiga*whl
You can test your installation by pulling up the help menu.
amiga -v              # display AMiGA version numbers
amiga -h              # help menu
amiga summarize -h    # help menu for summarize command
Instructions for Beginners
These are instructions for beginners who have never used python packages or need a referesher on how to install and run python packages.
Installing AMiGA with pip
I recommend that you install AMiGA with pip if you use Windows and do not want to install Windows Subsystems for Linux. See detailed instructions here.
Installing AMiGA with conda/mamba
Otherwise, I recommend that you install AMiGA with conda or mamba. See detailed instructions here.